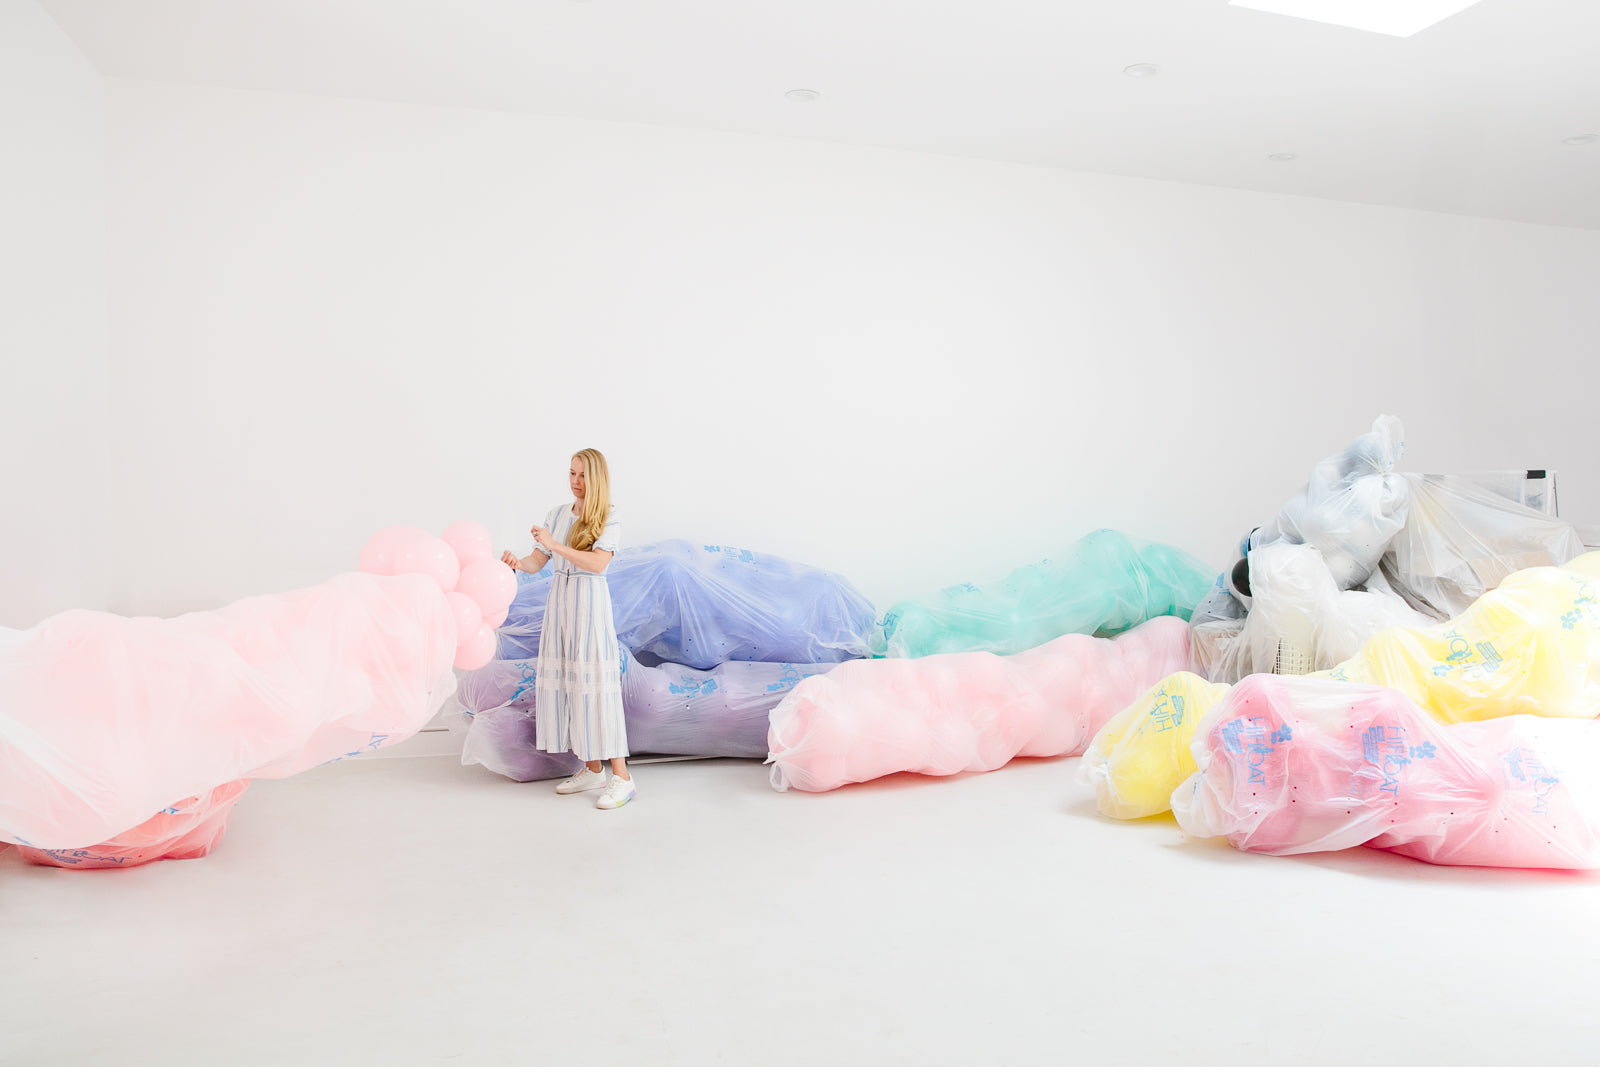
BALLOON ARCH DIY
5 EASY STEPS
Your Step-by-Step Guide to Creating the Perfect Party Backdrop
There’s no denying it—balloon garlands are the it detail of any celebration. Whether you're planning a birthday party, baby shower, graduation, or holiday gathering, a balloon garland instantly elevates your space and brings the festive vibes. And the best part? You don’t need to be a professional party stylist to make one.
At Bonjour Fête, balloon garlands are one of our go-to party tricks. With the right tools and a few helpful tips, they’re easy to create, endlessly customizable, and totally swoon-worthy.
Here’s our tried-and-true guide for creating a stunning balloon garland that will wow your guests and your Instagram feed.
WHAT YOU’LL NEED
- Balloons in a mix of sizes and colors
We love combining 5", 11", and 17" balloons, mixing solids with specialty prints or foils for added texture and visual interest. - Balloon hand pump or electric inflator
A total time-saver - Fishing line, balloon string, or uninflated 260 balloons
Ideal for tying quads together and shaping your garland. - Balloon glue dots or a low-temp glue gun
Perfect for adding smaller balloons to fill in gaps and create a full, polished look. - Command hooks or removable adhesive wall hooks
Great for safely hanging your garland without damaging walls. - Optional finishing touches
Ribbon tails, foil balloons, faux florals, or honeycomb decorations for added dimension and personality.
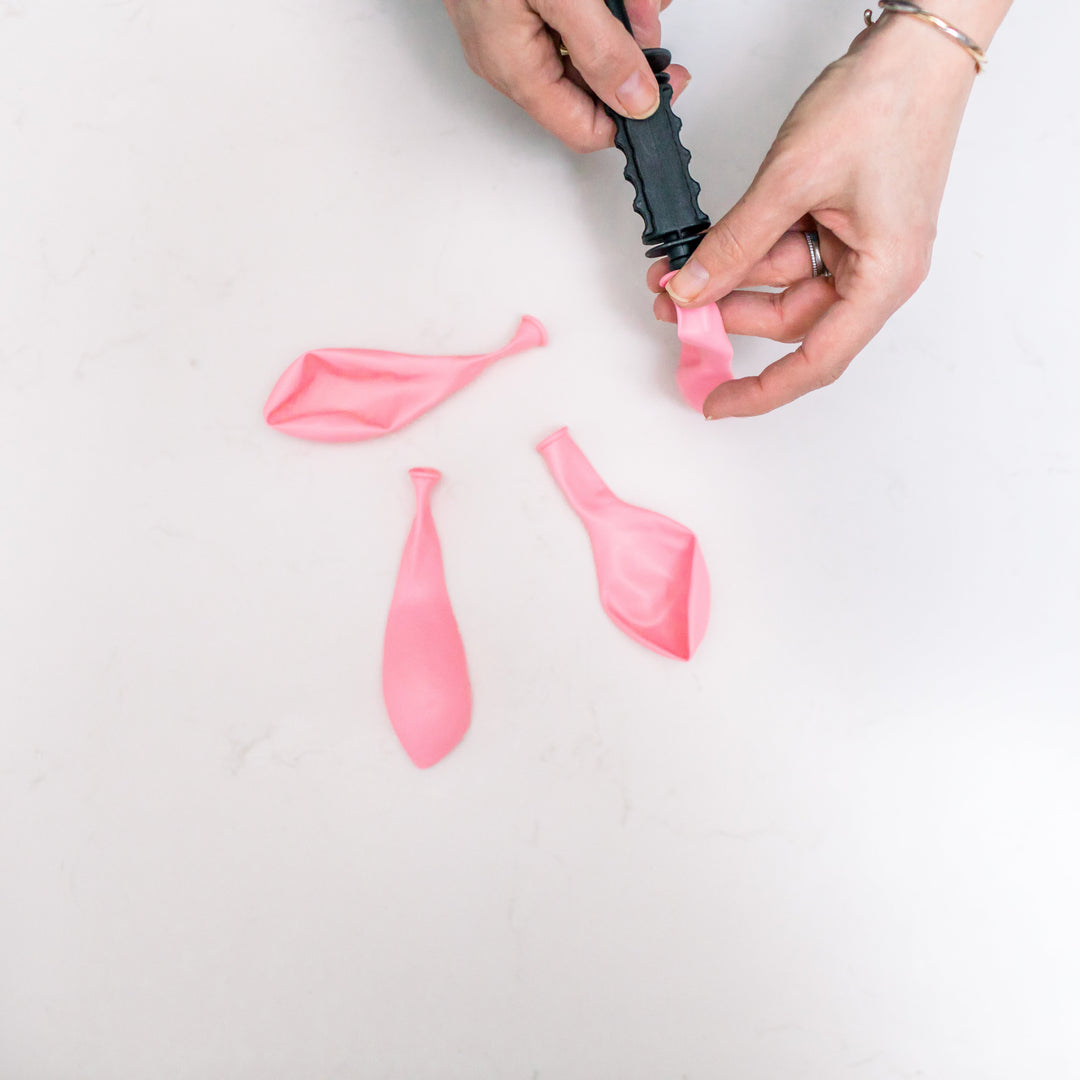
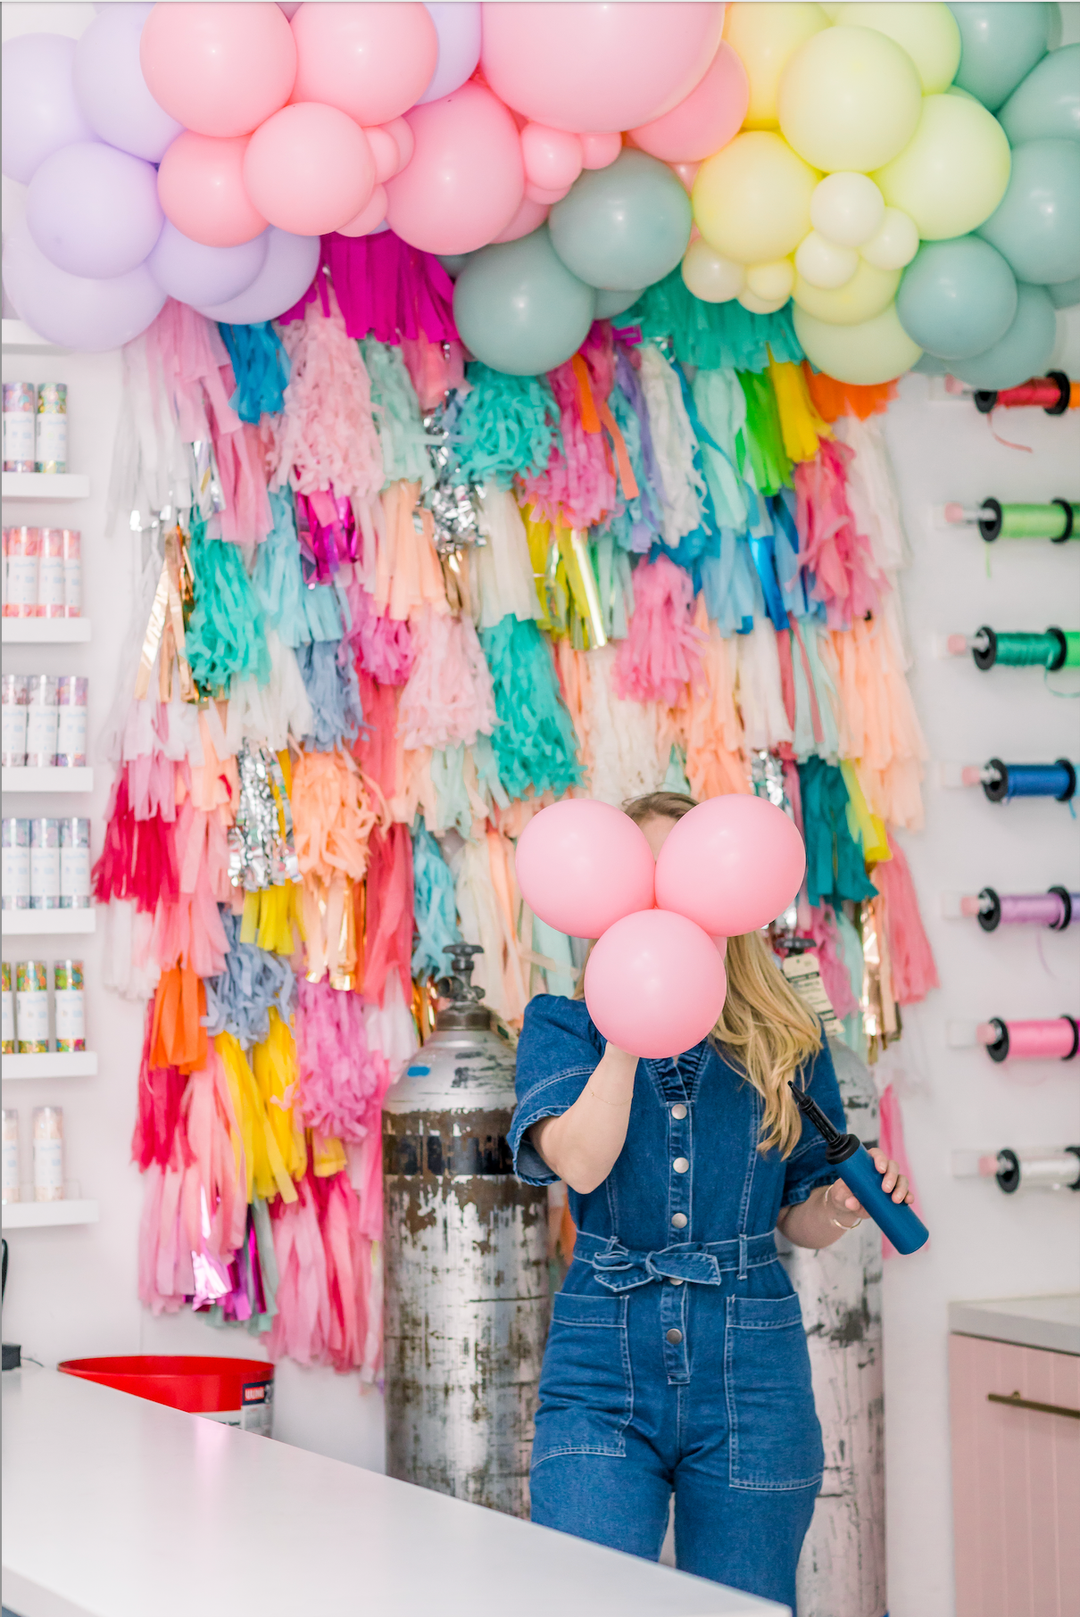
STEP 1: BLOW UP YOUR BALLOONS
Inflate your balloons using an inexpensive hand pump, and aim for a variety of sizes to achieve that organic, textured look. We recommend a mix of 5", 11", and 17" balloons for the best visual balance. Don’t be afraid to under-inflate a few—those softer, varied shapes add dimension and charm to your garland.
Pro tip: An electric inflator is a total time-saver (and your lungs will thank you).

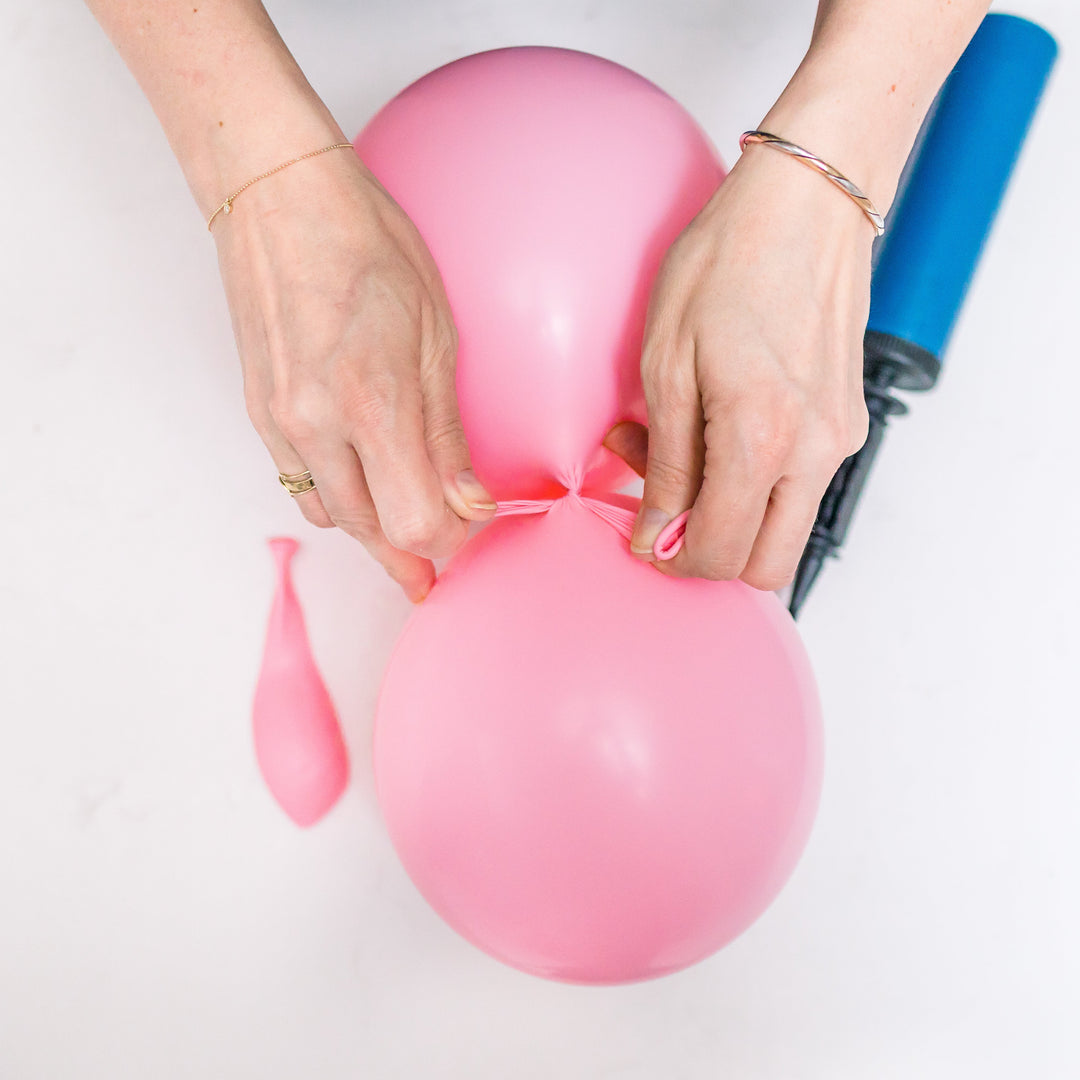
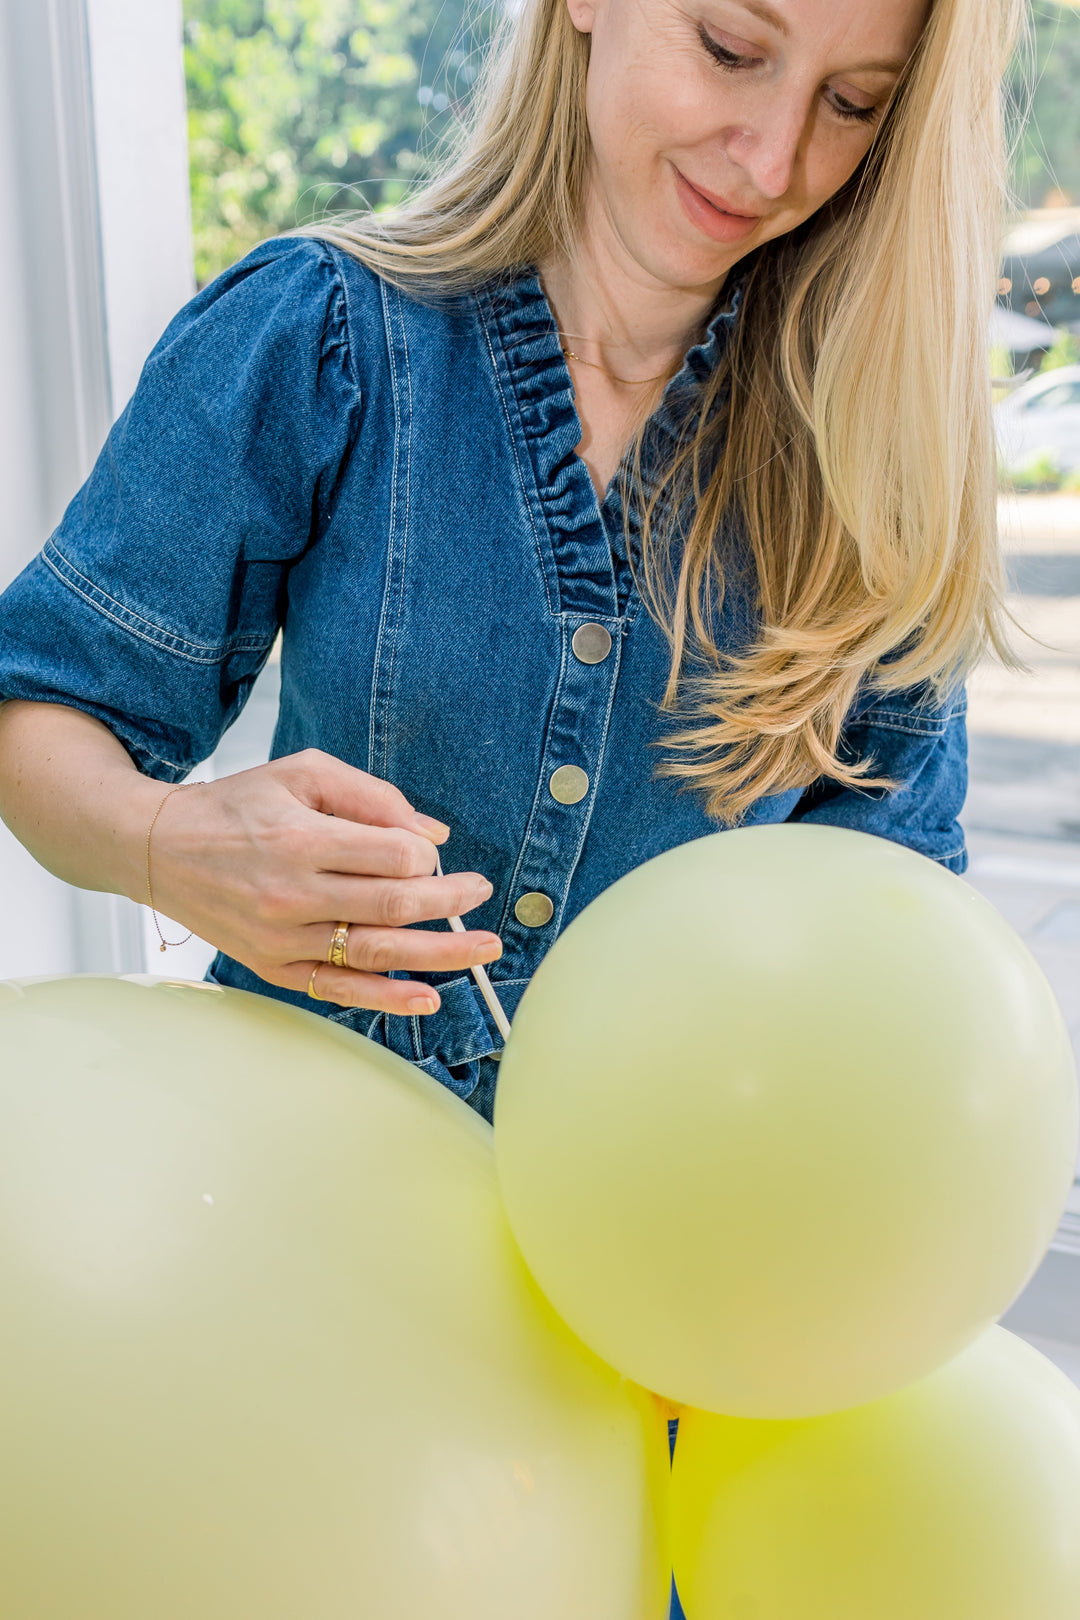
STEP 2: BUILD YOUR BALOON QUADS
Instead of using a balloon strip, we prefer the more polished, organic method of building balloon “quads” using duplets.
Here’s how it works:
- Step 1: Make a Duplet
Inflate two balloons to your desired size (we recommend mixing sizes for that fun, layered look). Then tie the necks of the two balloons together to form a pair—this is your duplet. - Step 2: Create a Quad
Take two duplets and twist them together at the center where the necks meet. This forms a cluster of four balloons, also known as a quad. You’ll want the balloons to sit snugly together for a full, balanced base.
Continue building more quads in your chosen color palette. These will become the building blocks of your garland, giving it a professional look with gorgeous dimension.
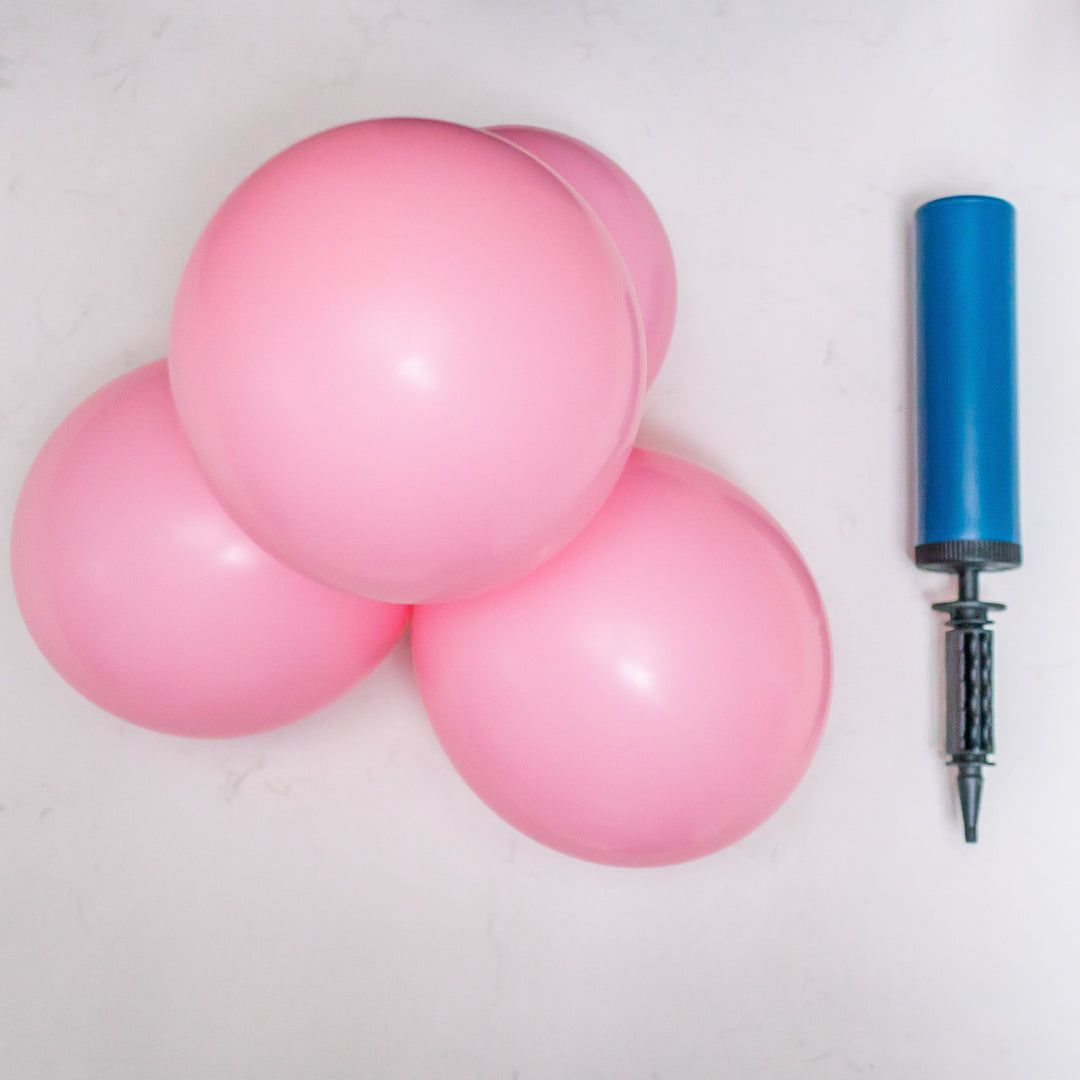
BuilDING A CLUSTER
Party tip: This technique is a favorite among balloon stylists because it creates a natural, flowing shape.
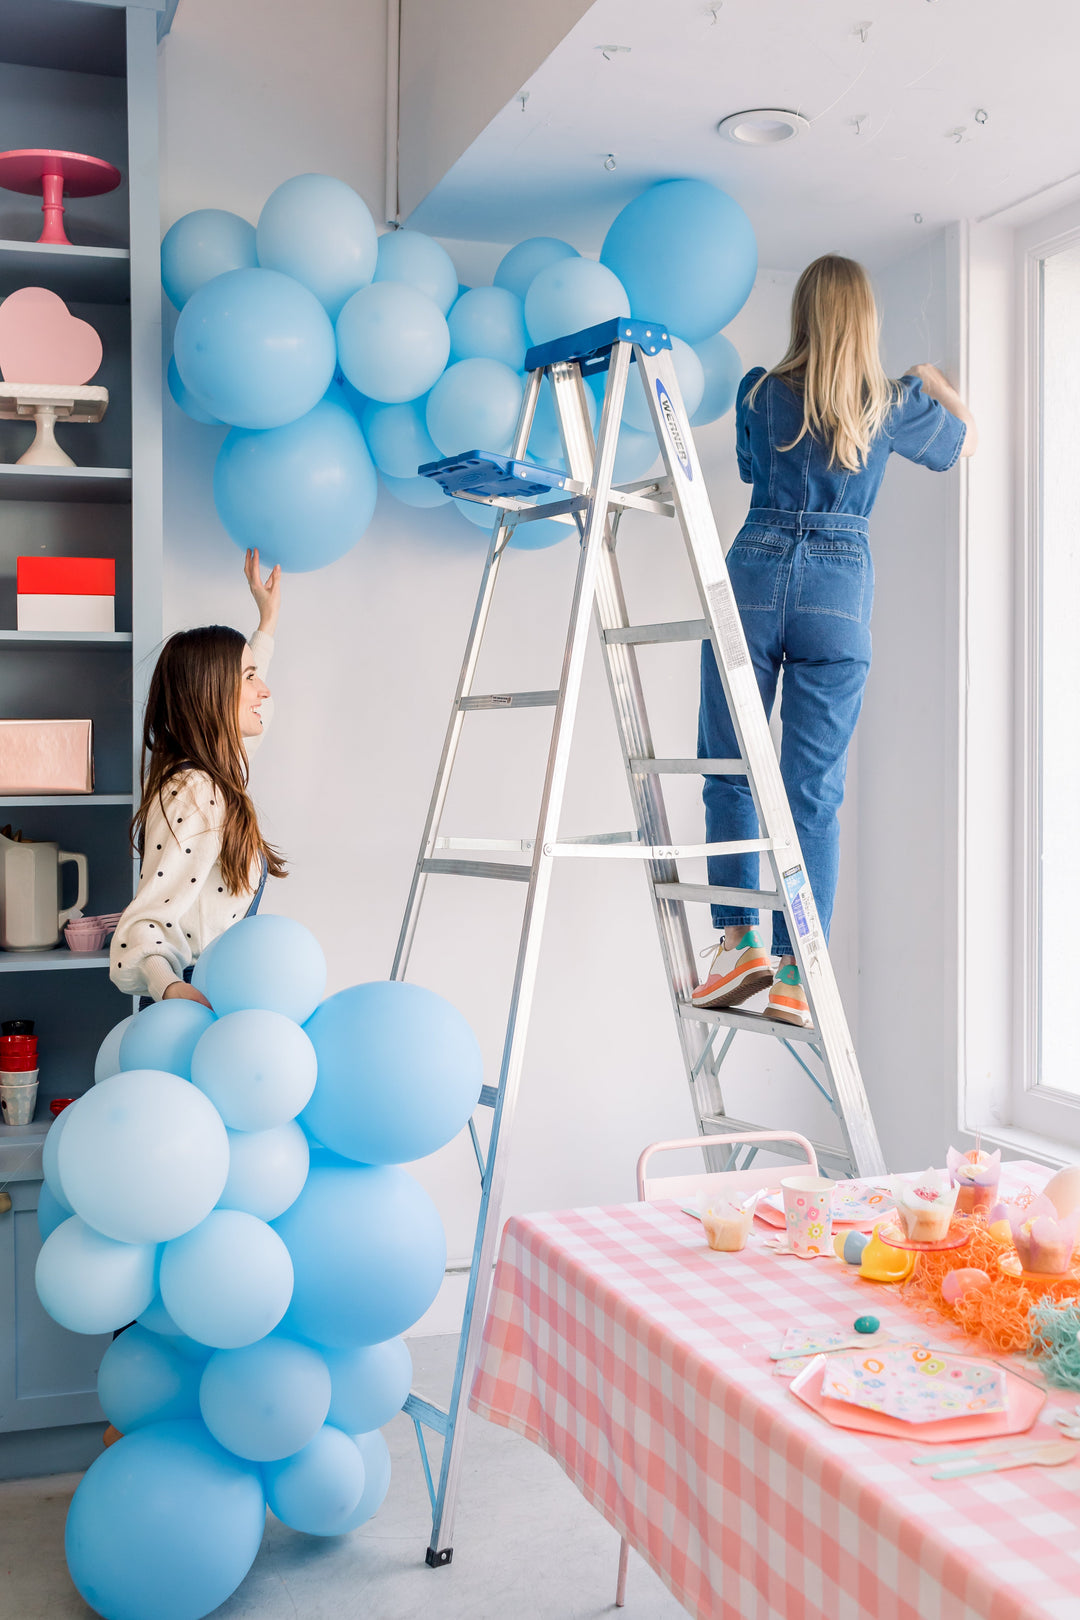
STEP 3: CONNECT YOUR QUADS
Once you’ve created several quads, it’s time to start building your garland by connecting them.
Here’s how to do it:
- Use a long piece of fishing line, or uninflated 260 balloon to secure your quads together. Start with your first quad and tie the line snugly around the center where all four balloons meet.
- Continue stacking and tying each new quad one at a time, twisting them slightly as you go to create a natural curve or shape. Alternate colors and sizes to give your garland depth and movement.
- Keep tying and layering until you reach your desired length. Don’t worry about perfection—organic balloon garlands look best with a little asymmetry and playfulness.
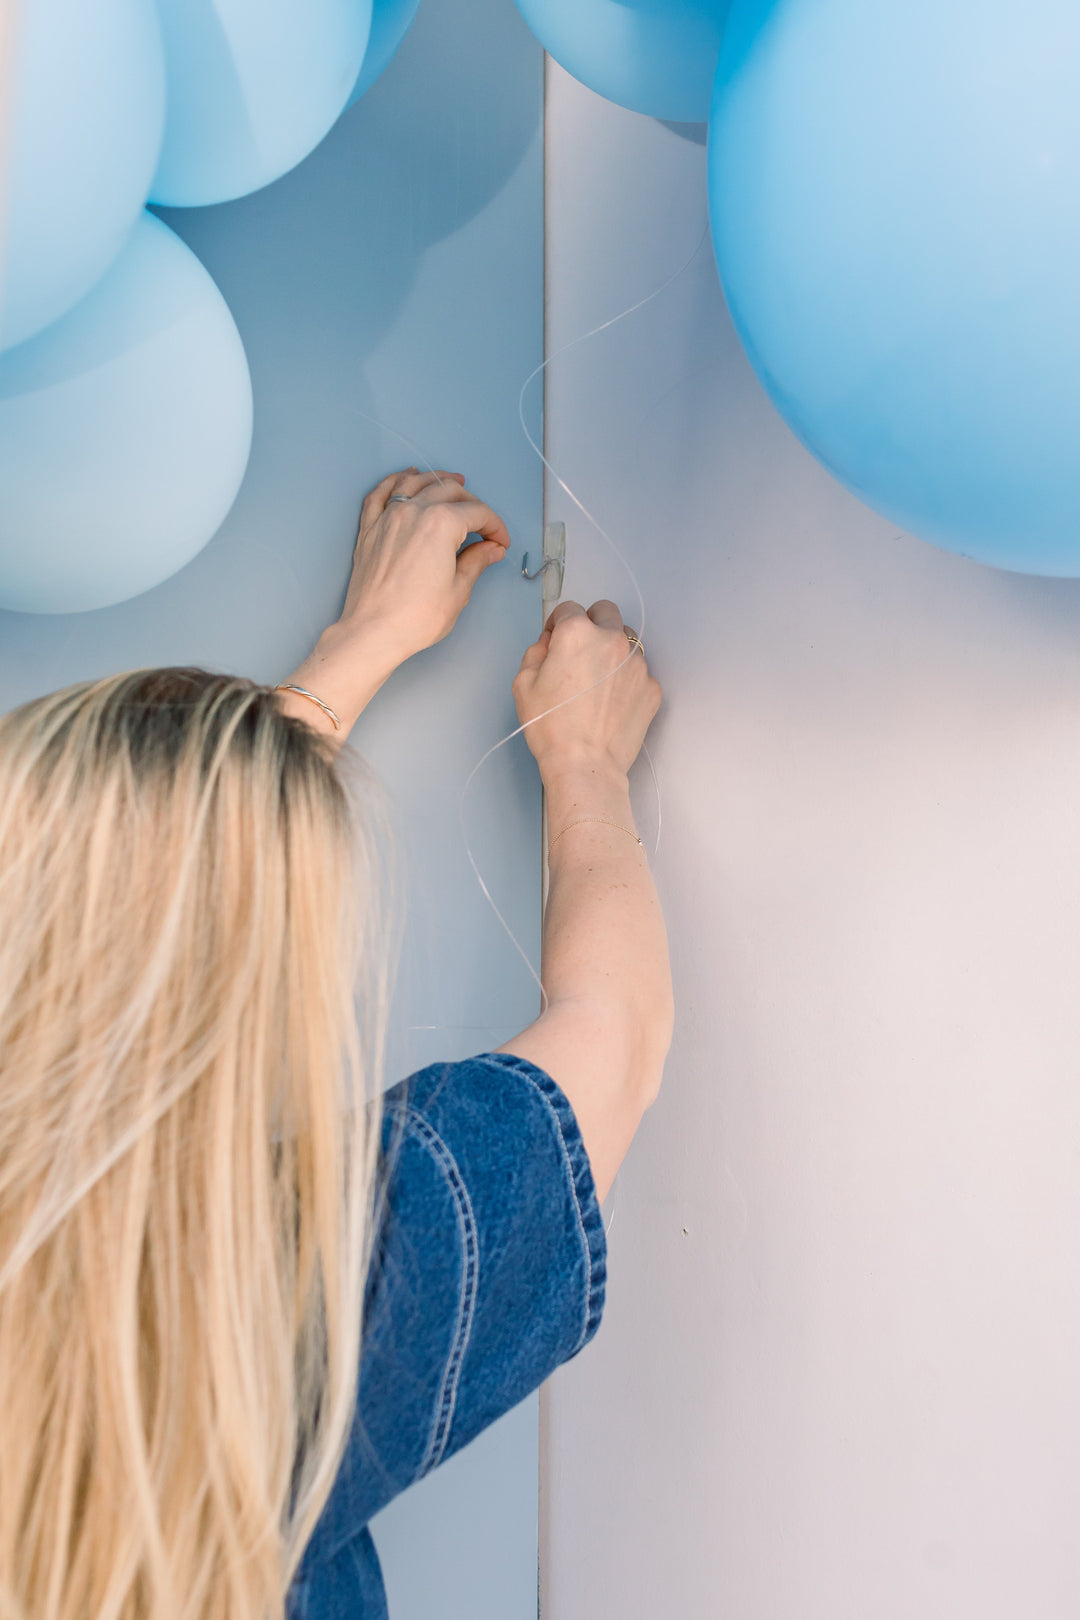
STEP 4: HANG YOUR GARLAND
Now that your garland is assembled, it's time to bring it to life on the wall, arch, or party backdrop.
Here’s how to hang it:
- Use clear Command hooks or removable adhesive wall hooks to anchor your garland. Place them wherever you want the garland to drape—above a dessert table, around a doorway, or framing a photo wall.
- Attach the garland by tying fishing line, string, or a 260 balloon around a few of your quad clusters and looping them onto the hooks. This keeps everything secure while allowing for easy adjustments.
- Don’t stress if it doesn’t fall perfectly at first—gently twist or shift the quads until the garland curves the way you like. You can even trim off a cluster or two to better fit the space.
Party tip: If your garland feels a little flat, save a few small balloons to fill in gaps after it's hung. Simply attach them using glue dots for extra dimension and that full, finished look.
STEP 5: FLUFF, FILL, AND FINISH
Now that your garland is hung, it’s time to add that je ne sais quoi—the final little touches that take it from festive to full-on fabulous.
Here’s how to give it that Bonjour Fête finish:
- Fill in any gaps with smaller 5" balloons using glue dots or a low-temp glue gun. These mini additions add volume and help your garland look lush and luxe.
- Layer in the charm with on-theme accents like foil balloons, faux florals, ribbon tails, or a dash of sparkle—anything that gives your setup a little ooh la la.
- Step back and admire your masterpiece. You’ve created a showstopping garland with personality, polish, and a whole lot of party magic.
Party tip: Balloon garlands can last several days indoors, so feel free to build ahead—and enjoy your chic creation long after the last slice of cake.
OH LA LA
And there you have it—your step-by-step guide to creating a balloon garland that’s equal parts effortless andooh la la. Whether you're celebrating a birthday, graduation, baby shower, holiday soirée, or simply dressing up a dinner party, a balloon garland is the perfect way to make any space feel instantly festive. At Bonjour Fête, we believe the little details make the biggest impact, and this party staple is one of our favorite ways to bring joy, color, and creativity to any celebration. Happy garland-making to all you fabulous hosts and hostesses!


